In this tutorial we create two wedding rings using 3D modeling in Illustrator. We learn a few operation techniques with gradient mesh. If you need to create an upcoming wedding invitation, this can serve as an excellent centerpiece for that kind of design.
3D Modeling
Step 1
Take the Ellipse Tool (L) and create a circle without a stroke, filled with a random color.

Now take the Rectangle Tool (M) and create a rectangle as shown in the figure below.
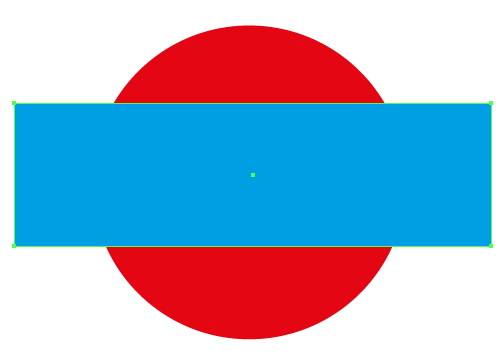
Select both shapes and align them towards the horizontal that passes through the centers of these figures using the Align palette.
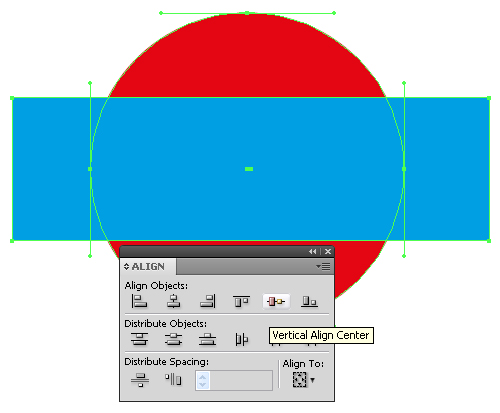
Step 2
Keep the shapes selected, hit the Intersect button from the Pathfinder palette.
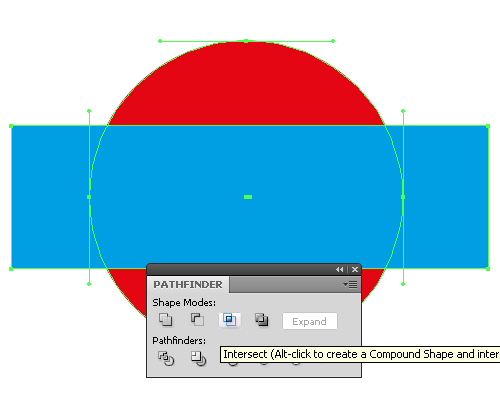
Now build another rectangle and place it as shown in the figure below.

Select both shapes and hit the Minus Front button from the Pathfinder palette.
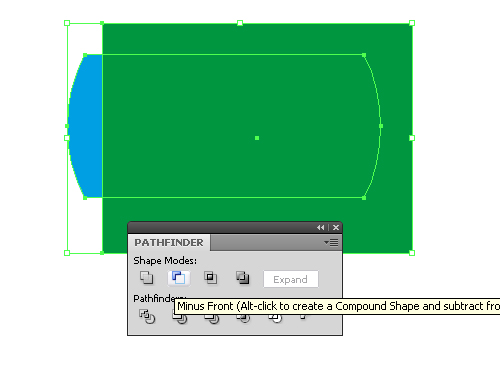
Now we’ve created the shape of the vertical section of the wedding ring.
Step 3
Take the Pen Tool (P) and create a vertical line at a certain distance to the right of the created shape.

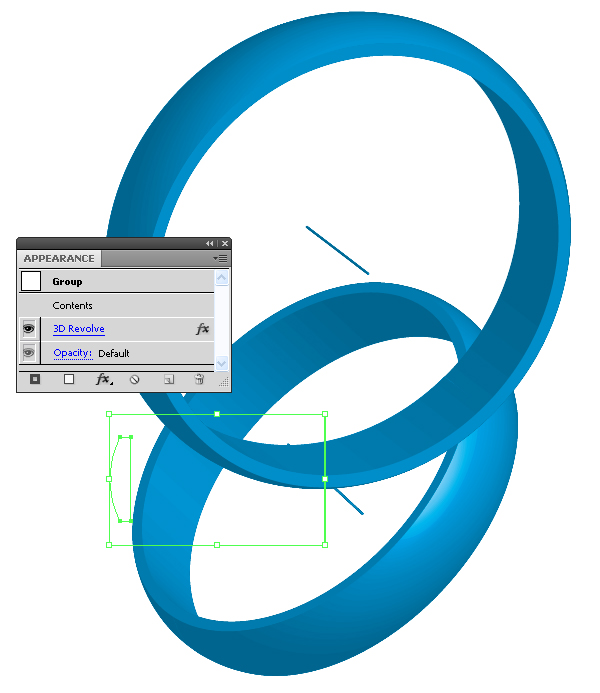
Now select and group up these two objects (Command + G). Keep the group selected, go to Effect > 3D > Revolve…
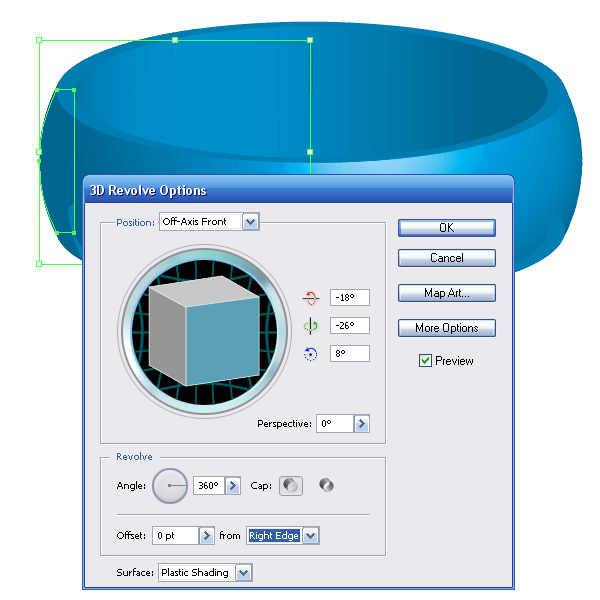
Leave the effects parameters at random, it is only the Offset that should be set from Right Edge. As a result of these actions, we’ve created the ring shape.
Step 4
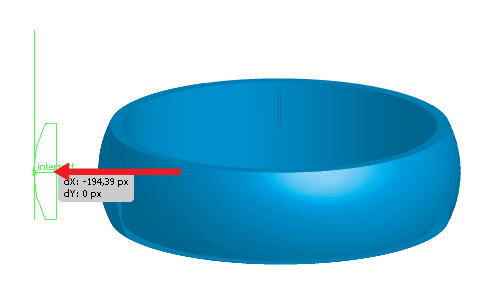
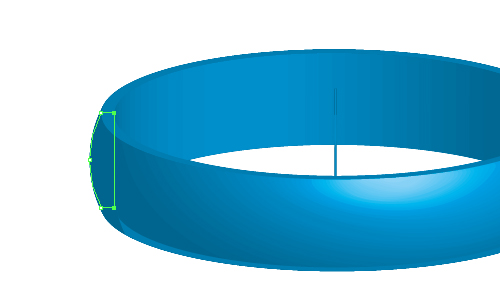
At this step we can edit the shape of the ring by moving the ring section horizontally and editing the shape of the section itself, if needed. To do this, use the Direct Selection Tool (A).
Step 5
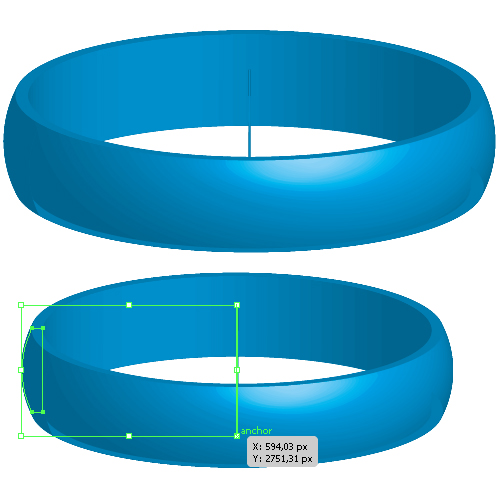
Suppose, that we were creating a man’s wedding ring. Now let’s create a woman’s wedding ring. Duplicate the man’s ring (move it using the Selection Tool (V) while holding down the Opt/Alt key). Now reduce its size proportionally by holding down the Shift key.
Step 6
Let’s proceed to the wedding ring’s design composition. To get the access to the 3D parameters of the rings, you have to select the corresponding ring and open the Appearance palette (Shift + F6), and click on the 3D effect.

In this step, you can experiment by creating your own design.
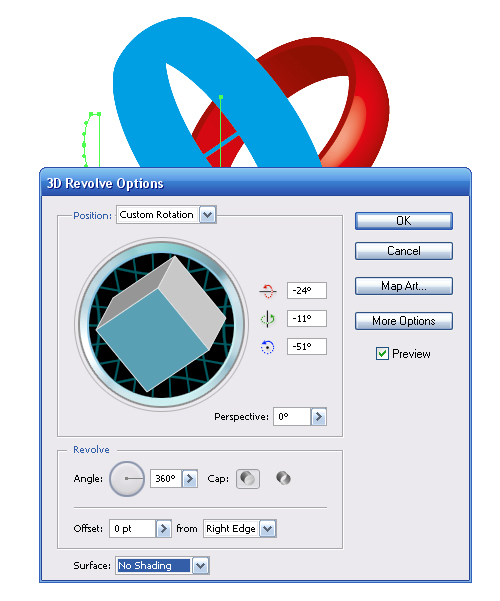
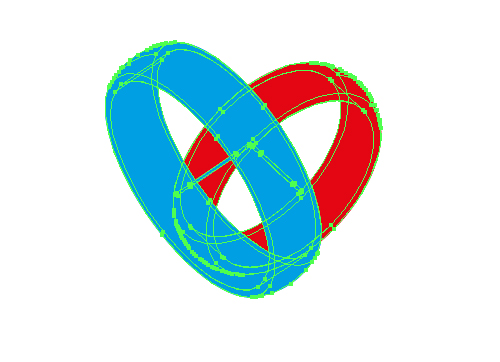
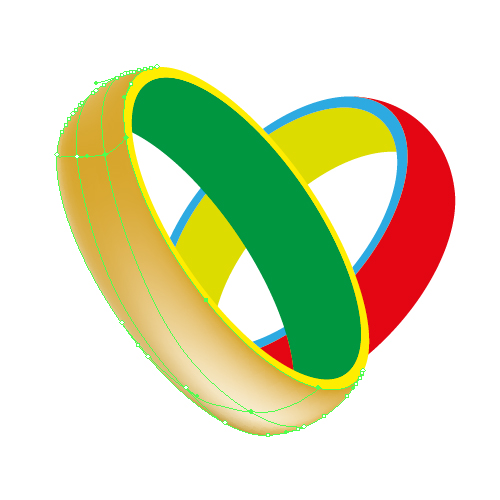
In my opinion, the composition should carry some kind of idea. So I placed the rings so that they could form a heart shape, besides that the rings should intersect like the links in a chain. You’ll learn how to make this kind of intersection later in this tutorial. The 3D effect parameters of the rings are shown in the images below.
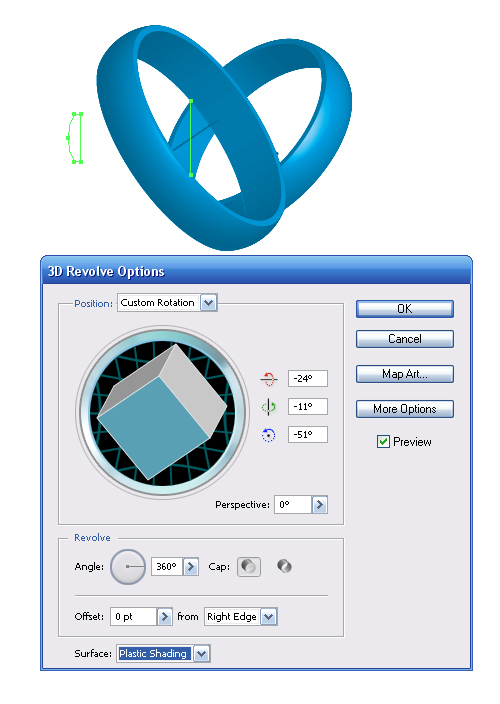
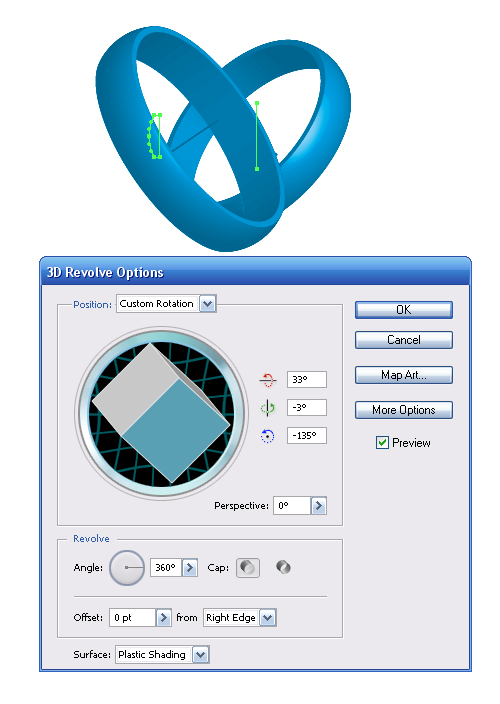
Before you transform the 3D effect into objects, temporally fill the ring with different colors. Set the No Shading value for the Surface parameter in the 3D Revolve Options dialog box.
Step 7
Select both rings, and go to Object > Expand Appearance.
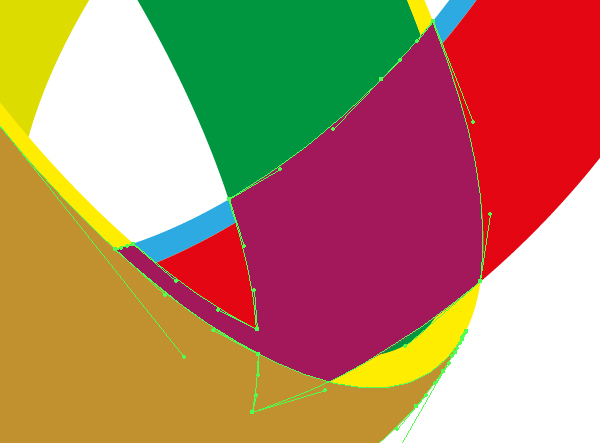
In the center of the rings there are utility elements for developing a cylindrical shape. Find and select these elements in the Layers palette, then delete, by pressing the Delete button.
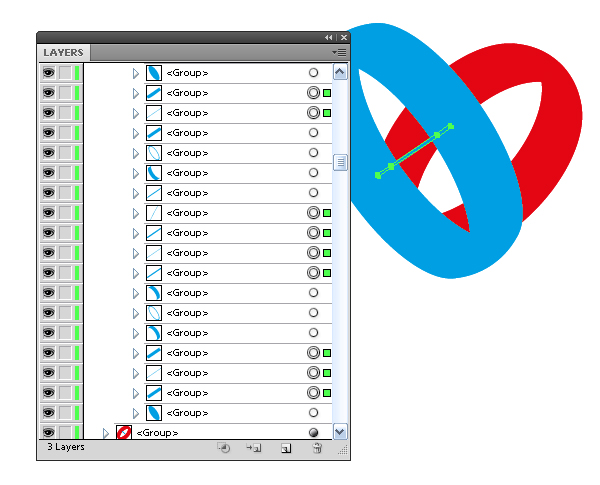
We can see plenty of objects in the Layers palette that belong to the front ring. Be sure to double-check that you remove all the unnecessary ones, leaving only those that form its shape. After the cleanup of the layers palette there were only four objects left.
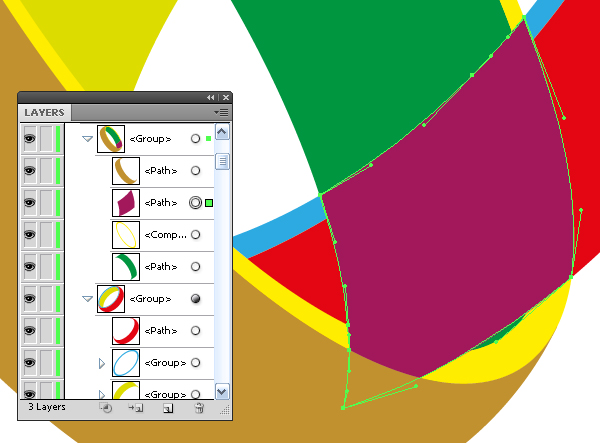
Step 8
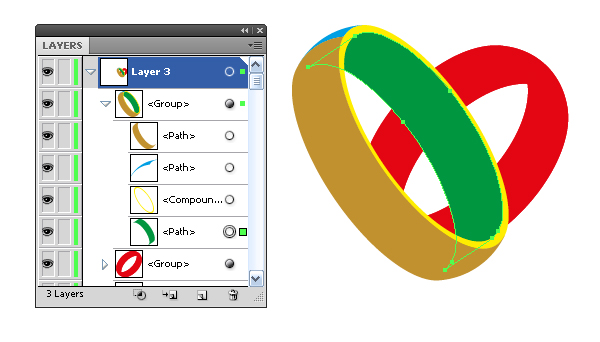
The front surface of the ring consists of two objects (these objects are filled with a blue and a light brown color in the image below). In the meanwhile paint the objects in different colors, then it will be much more convenient and more fun to work with. Select these objects and hit the Unite button from the Pathfinder palette.

Step 9
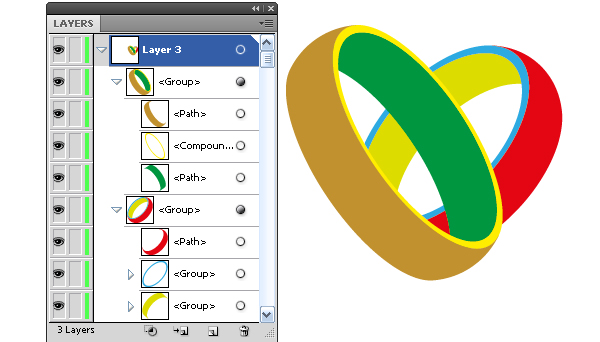
Do the same with the other ring.
Creating the Ring’s Intersection
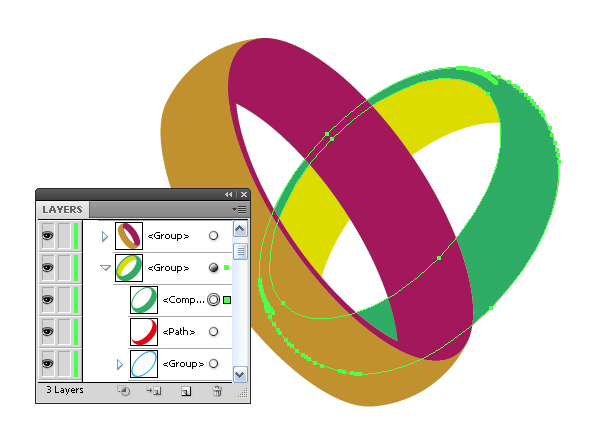
Step 10
Select the flat end and the inner surface of the front ring, copy and paste it in front (Command + C, Command + F). Keep the objects selected, unite them into one shape by hitting the Unite button from the Pathfinder palette.

Step 11
Perform the same sequence of operations with the face and front surface of the furthest ring.
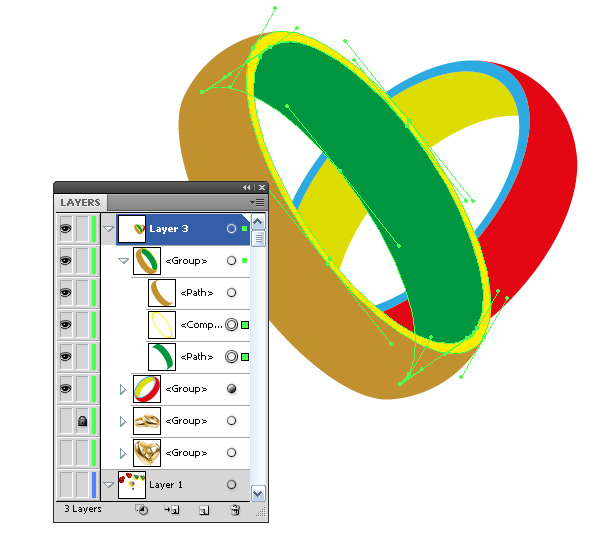
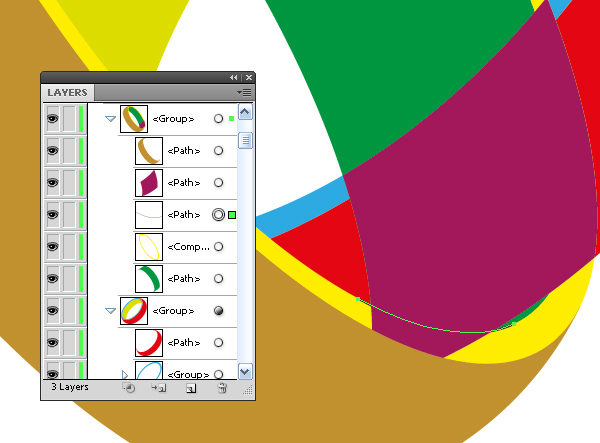
Step 12
Select the shapes created in steps 10 and 11, then press the Intersect button from the Pathfinder palette.
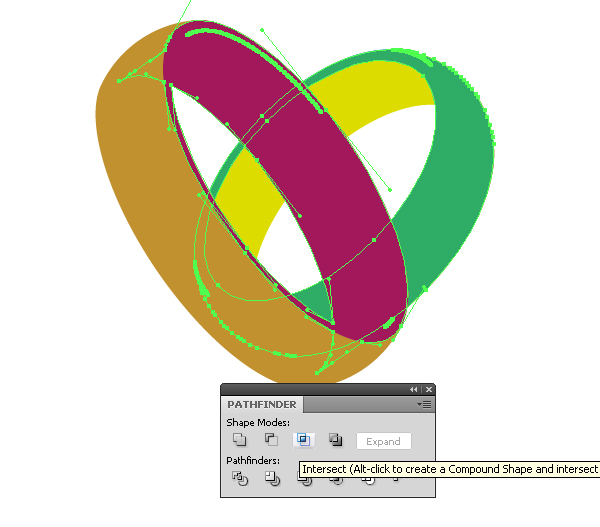
Remove the unnecessary shapes formed as a result of the intersection.
The intersection of rings has the shape of a coffee pot, edit it in order to remove its nose.
To do this, remove the extra point with the Delete Anchor Point Tool and edit the shape using the Direct Selection Tool (A), bringing it to the view shown in the figure below.
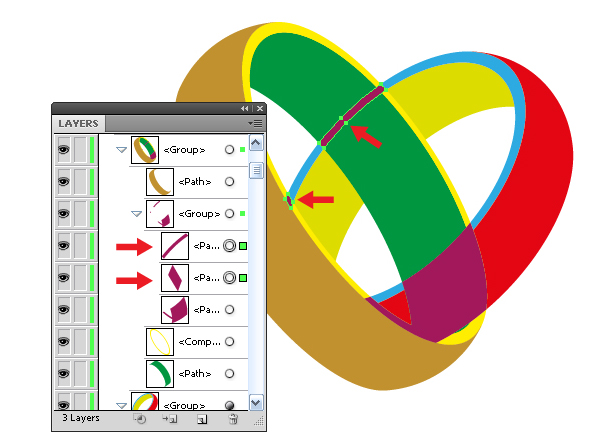
Step 13
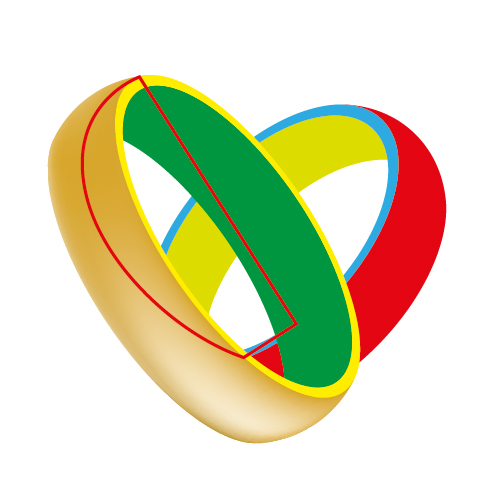
Continue the transformation of the rings intersection shape. Copy and paste in front the face of the closer of the ring. Keep this shape selected, go to Object > Compound Path > Release. As a result, we got two ellipses.
Remove the bigger of them. Now take the Scissors Tool (C) and cut the achieved shape at points A and B.

Delete the larger part of the ellipse, leaving only the AB arc.
Step 14
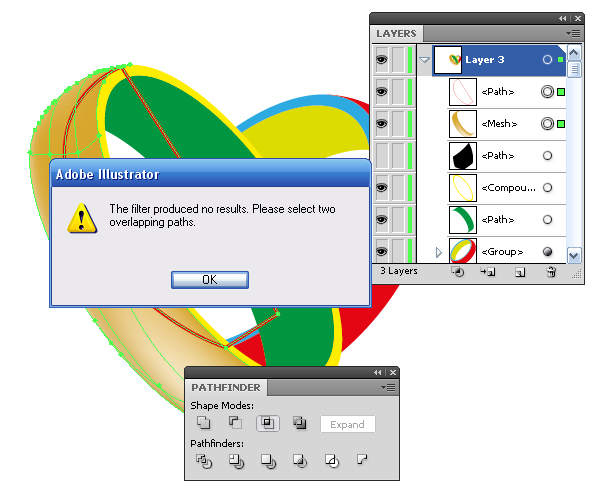
Select the arc and the rings intersection shape and press Divide from the Pathfinder palette.
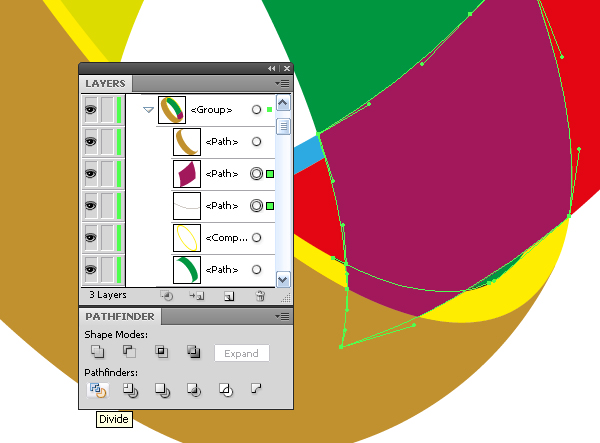
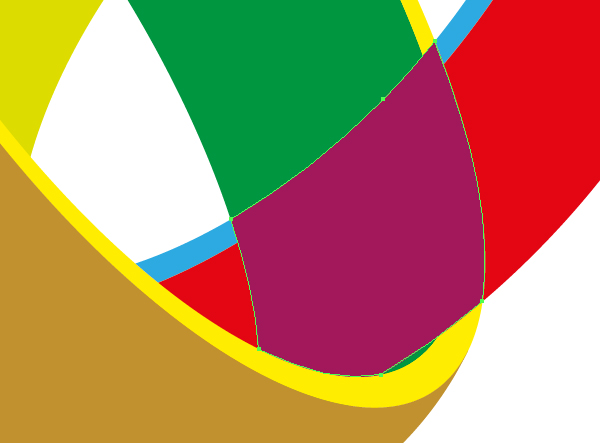
Now remove the bottom corner of the intersection shape.
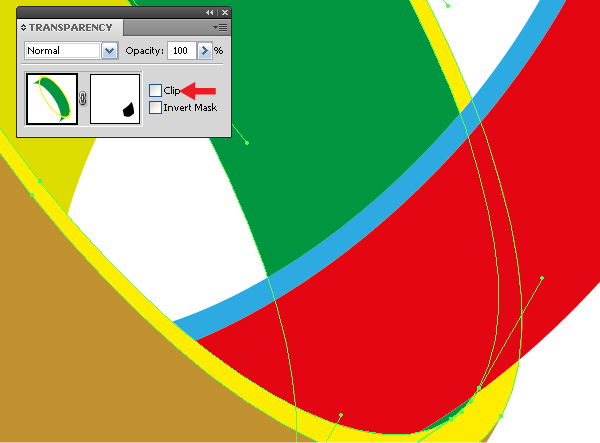
Step 15
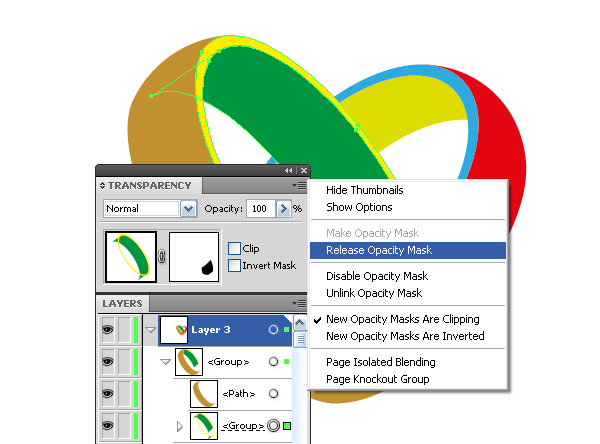
Change the fill of the shape to a black color. Select this shape, the inner surface, and the flat end of the closer ring. Now click on the Make Opacity Mask from the Transparency palette menu.
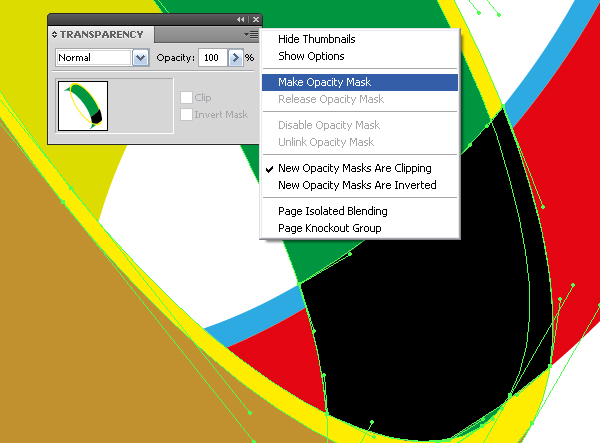
Turn off the Clip in the Transparency palette.
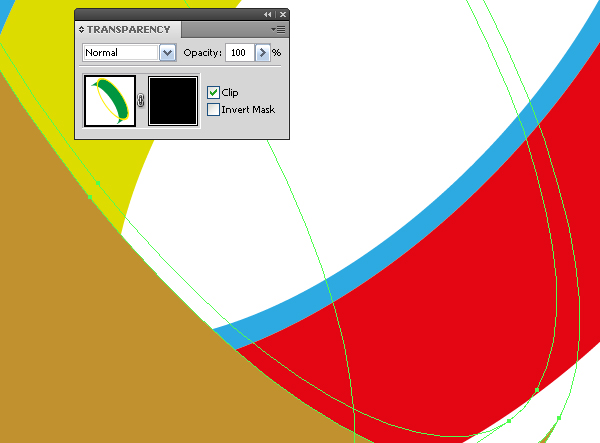
There appeared some seams on the edges of the mask.
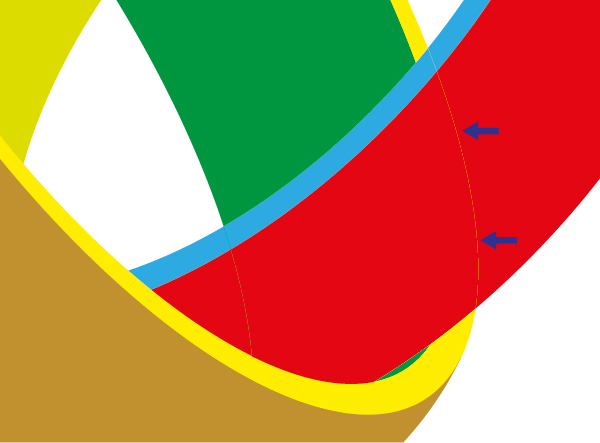
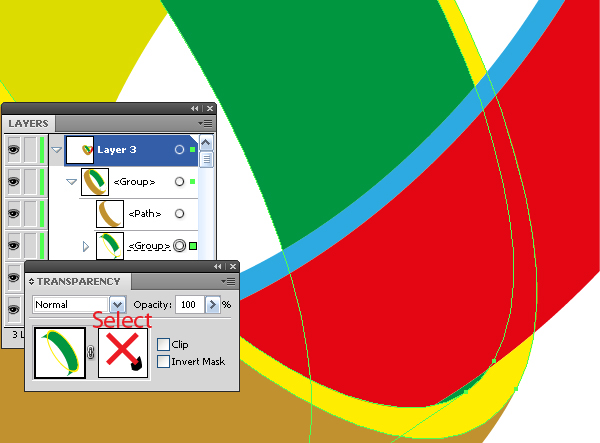
In order to get rid of them, it is necessary to correct the shape of the mask a bit. Select the underlayer with the opacity mask in the Layers palette and switch to the adjustment mode of the mask in the Transparency palette.
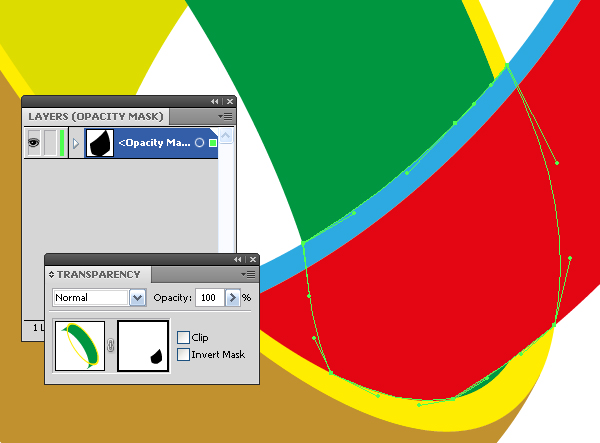
Now edit the shape of the sides of the mask using the Direct Selection Tool (A).
Step 16
Turn off the opacity mask, but turn it on when the rings are completely ready.
Lock the underlayer with the shape of the mask and make it invisible.

Working with the Gradient Mesh
Step 17
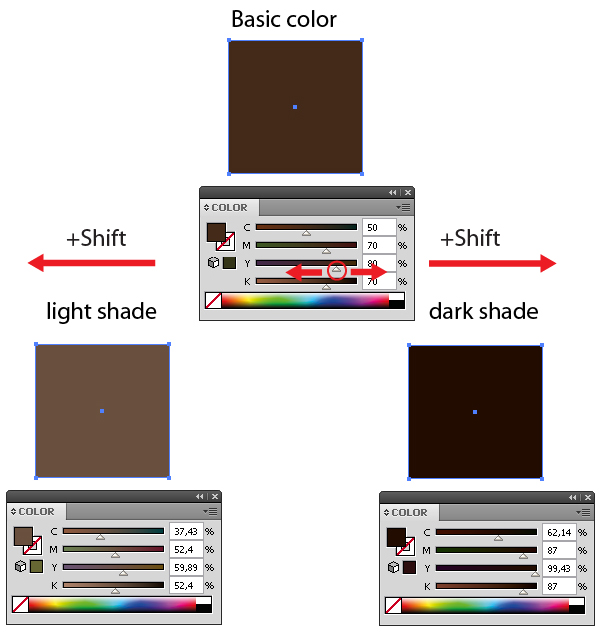
Describing all the colors that I used creating the rings is a bit tedious so instead I’ll describe the principles of making them. I used three basic colors: brown, yellow and white. There is one efficient technique of getting the hues that I often use.
This technique can only be applied to CMYK color mode. So, open the Color palette, we can see by the combination of colors forming the basic color. To obtain dark shades of the basic color, shift any slider to the right by holding down the Shift key. To obtain light shades of the basic color, shift any slider to the left, while holding down the Shift key.
To create smooth transitions between the colors, use colors directly from the Mesh object using the Eyedropper Tool (I). And do not forget that in order to get the hues of the basic color you can use the Color Guide palette (Shift + F3). Learn how to tune the colors, your design success depends on that.
Step 18
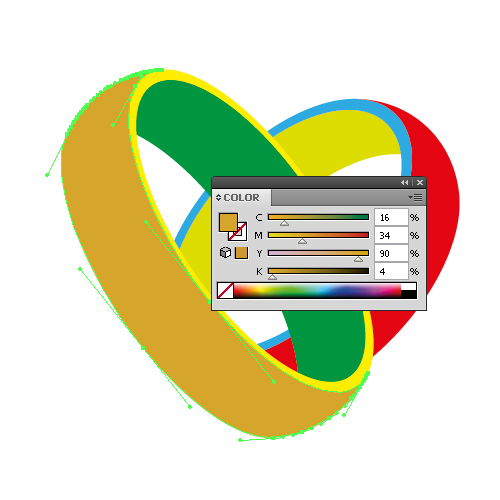
Fill the outside part of the closer ring with a solid dark yellow color.
Keep the object selected, go to Object > Create > Gradient Mesh… and set the number of Rows and Columns.
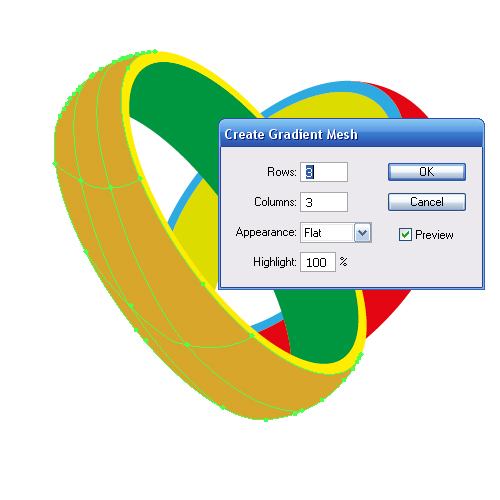
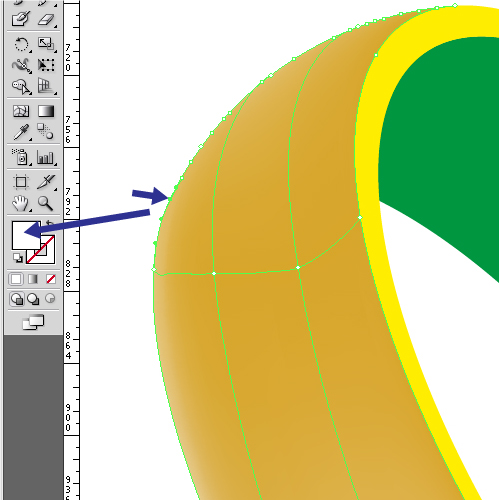
Remember that you can always edit the location of the grid lines. To remove grid lines take the Gradient Mesh Tool (U), move to the line, but not to the anchor point and click while holding down Alt.
Step 19
To create a new line there you can use the Gradient Mesh Tool (U), it is not necessary to hold down the Alt button.
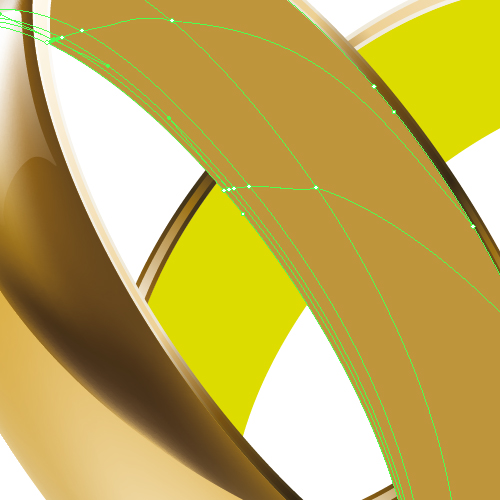
If necessary, edit the grid lines with the Direct Selection Tool (A). So use this technique to reduce the grid to the view shown in the figure below.
Paint the anchor points of the grid to give volume to the ring.
When painting anchor points on the grid, which are on the edges of the shape, they can easily be confused with the anchor points of the shape. The difference is that the anchor points of the grid have a basic color when selected – dark yellow, and the anchor points of the shape are white.
Step 20
Proceed to working on the reflection in the ring. Take the Pen Tool (P) and create the shape shown in the figure below.
This shape should be trimmed along the upper edge of the ring. Typically, trimming is performed using the Pathfinder palette tool or the Shape Builder Tool (Adobe Illustrator CS5). In our case, we cannot apply these tools, because one of the shapes is a Mesh object.
To trim, create a new object of the same shape as the Mesh object. To do this, select the Mesh object with the Selection Tool (V), and go to Object > Path > Offset Path…, set the value of offset equal to 0 px.
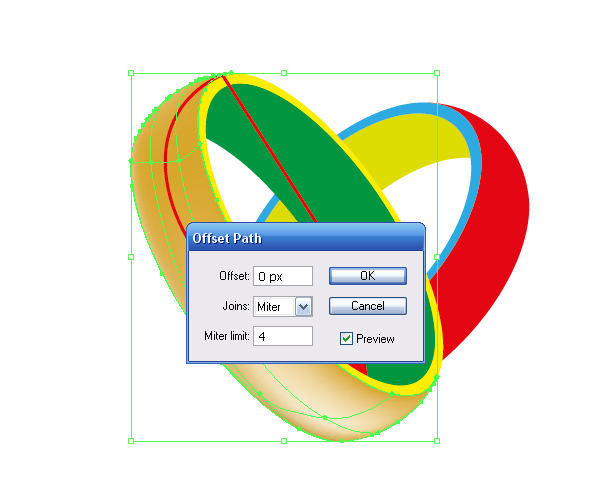
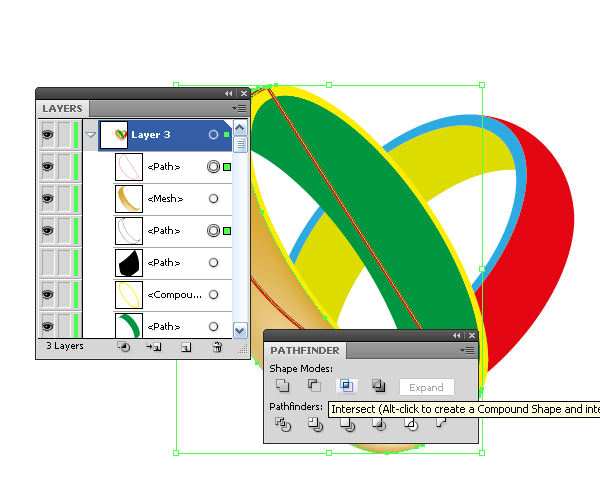
Now the operation is possible. Select the new object and an object that should be trimmed in the layers palette and click on the Intersect button in the Pathfinder palette.
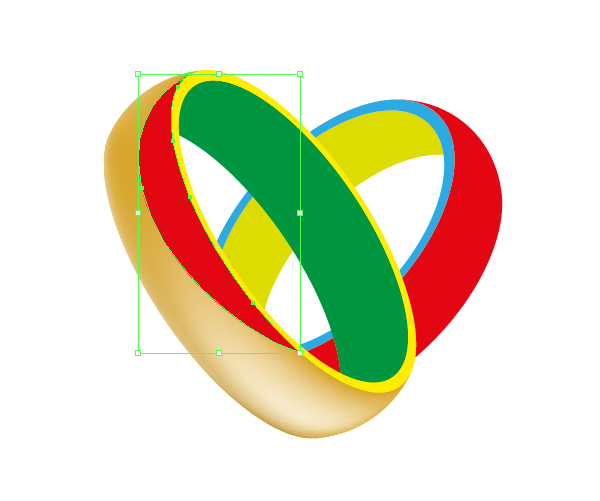
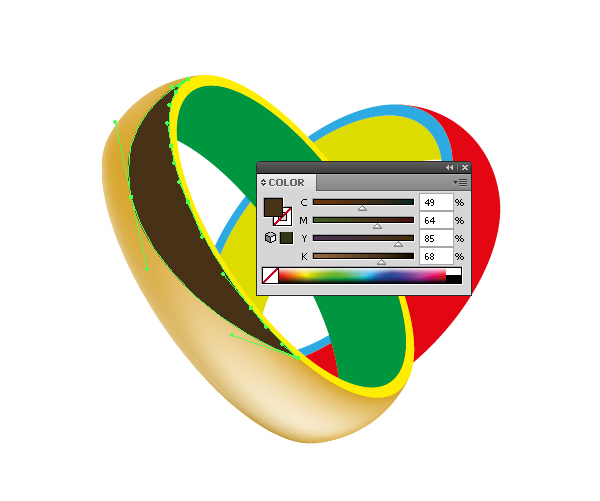
Fill the object with a solid dark brown color.
Step 21
Using the technique described in steps 17 and 18, create a gradient mesh as shown in the figure below.

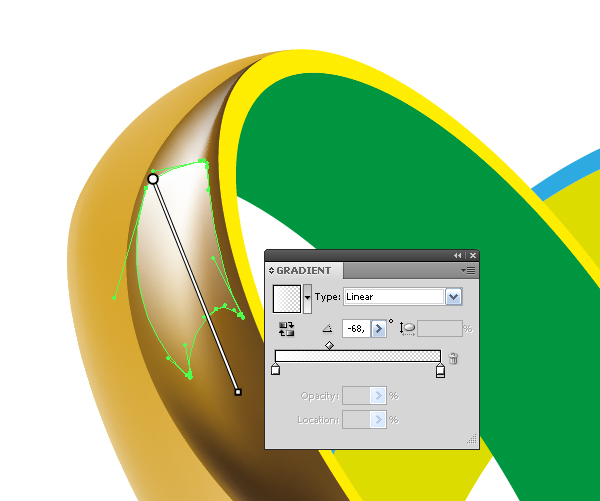
Step 22
Create another reflex. Take the Pen Tool (P) and create a shape similar to the one shown in the figure below.
Thanks to the line’s magic your work can be expressive. Always try your best working on the shape. Fill the shape with a linear gradient that goes from white to white with a 0% Opacity.
Step 23
Using the techniques mentioned above to create the outside of the furthest ring.
Step 24
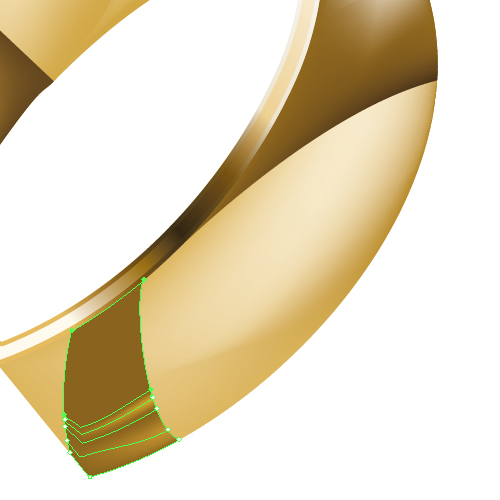
Proceed to the flat end of the rings. Select the flat end of the closer ring and fill it with a linear gradient as shown below.
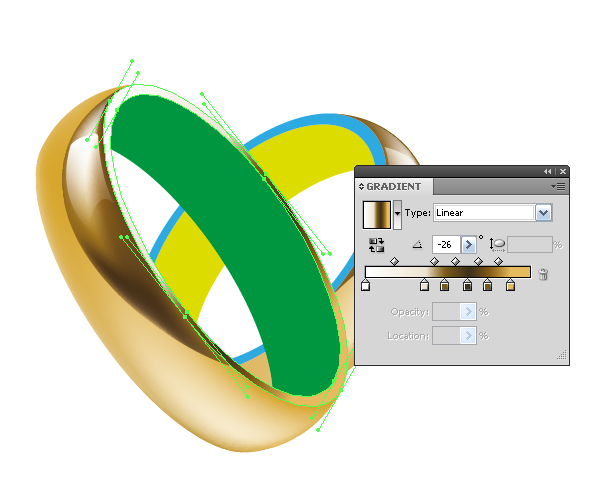
Now create a play of light at the flat end of the ring. Keep the flat end selected, go to Object > Path > Offset Path …, set the offset value equal to -2 px.
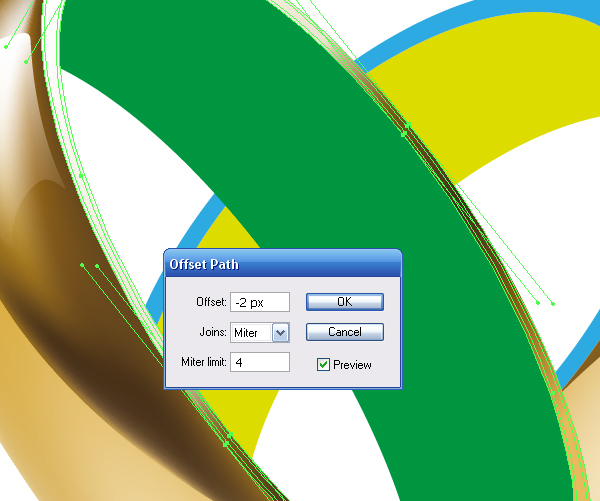
Fill the achieved shape with a linear gradient. Gradients should not be the same, although you can use the same colors as a result you’ll get the play of light on the edges of the flat ends.
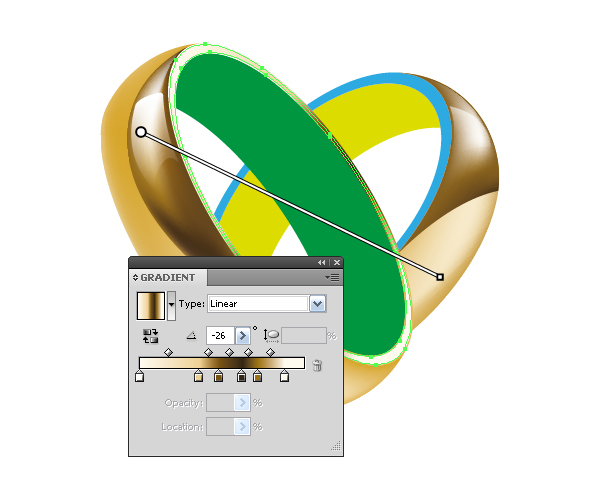
Do the same procedures with the flat end of another ring.
Step 25
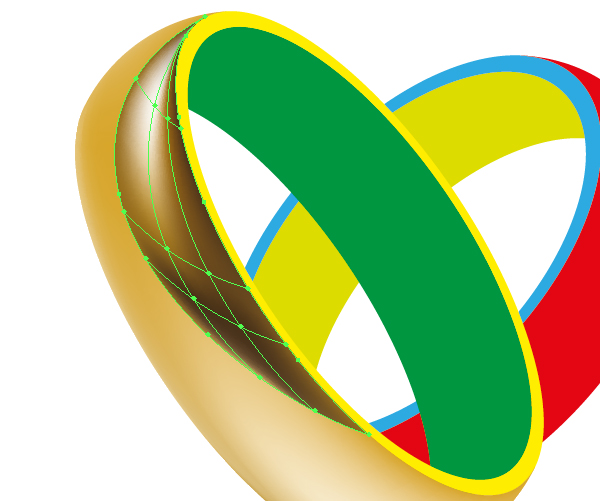
Proceed to the inner surfaces of the rings. It does not differ at all from the work on the outside surfaces of the rings. The images below show the steps for creating a gradient mesh on the inner surface of the closer ring.

Step 26
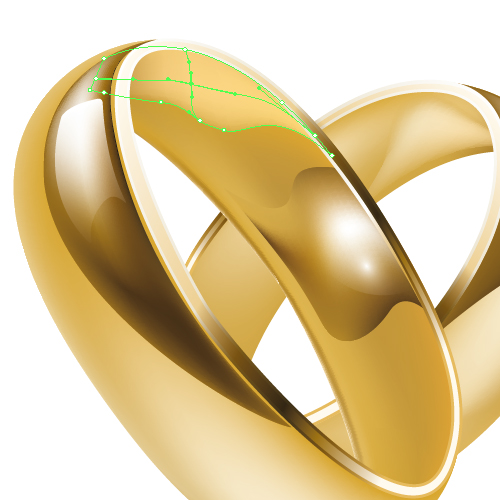
Use the Pen Tool (P) to create a shape of reflection on the inner surface.
Now create a gradient mesh in the manner described in steps 17 and 18, paint the grid points as shown in the figure below.

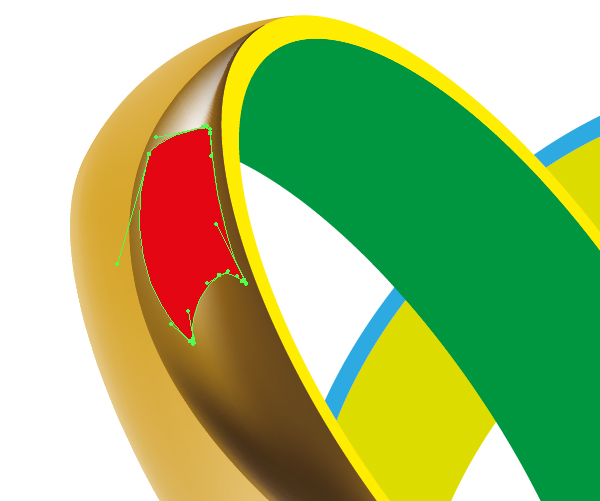
Step 27
Use another shape to create it, I used a circle that I cut in the shape of the ring using the technique described in step 19.
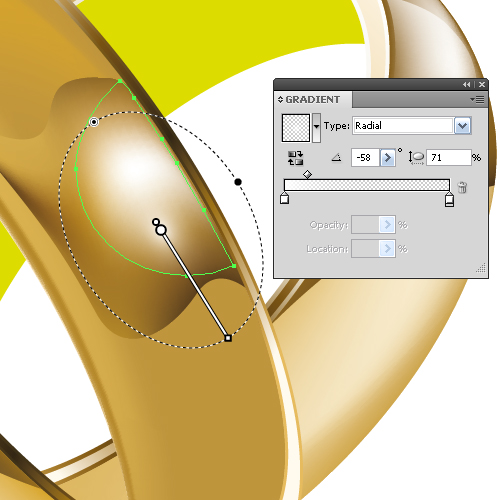
Fill the achieved shape with a radial (elliptical gradient) that goes from white to white with 0% Opacity.
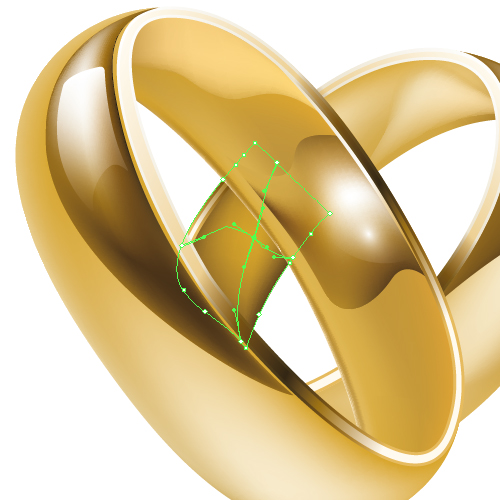
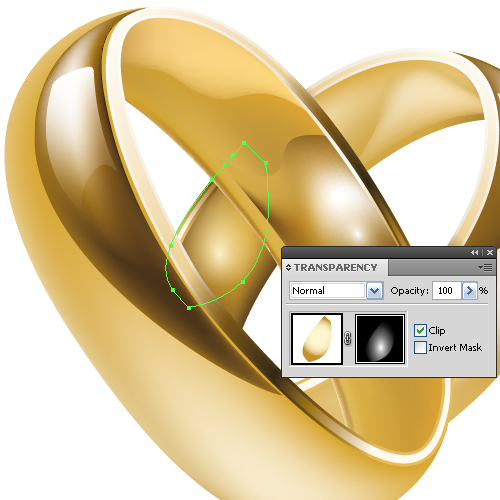
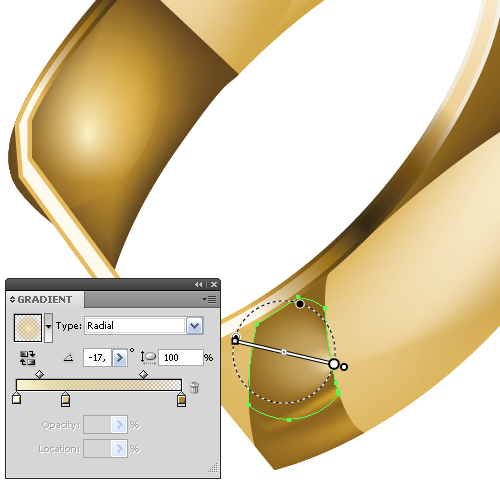
Step 28
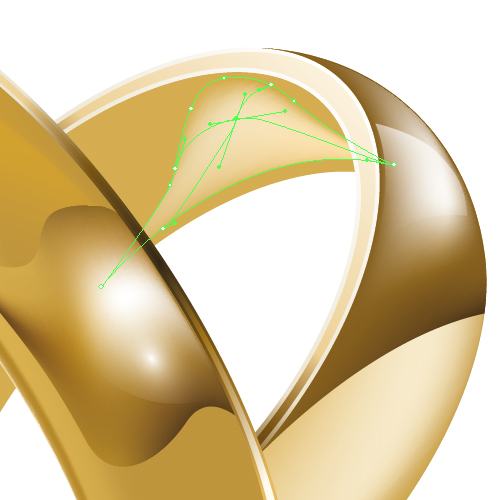
Now I’ll tell you about another interesting technique for working with the gradient mesh. I named it Gradient Mesh + Opacity Mask. So, using the Pen Tool (P), create a shape of another reflection and create a simple gradient mesh for this object.
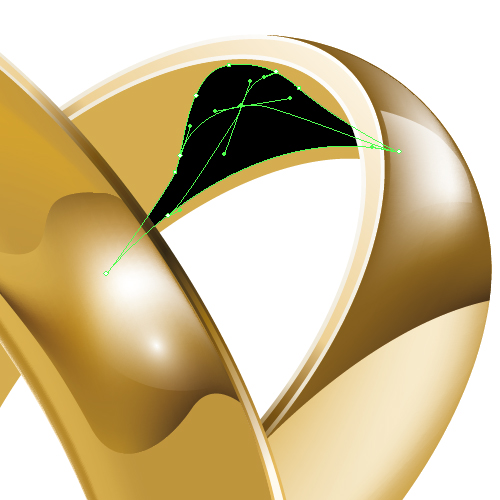
Copy and paste in front the Mesh object and change its fill to a black color.
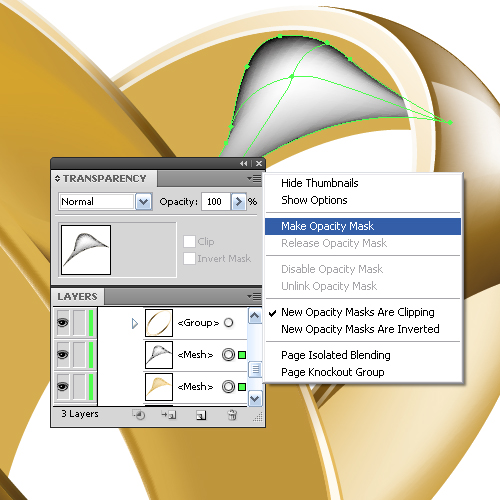
Now repaint the center point of the gradient mesh to white.

Select the top and bottom shapes in the Layers palette, click on the Make Opacity Mask from the Transparency palette.
Step 29
When creating this artwork I did not use an image as reference. All the reflections were created intuitively. You might somehow not agree with me. Therefore I am showing their location and the technique of its creation, take a look below.

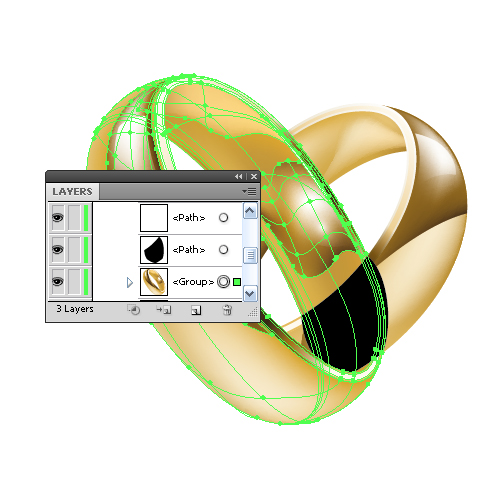
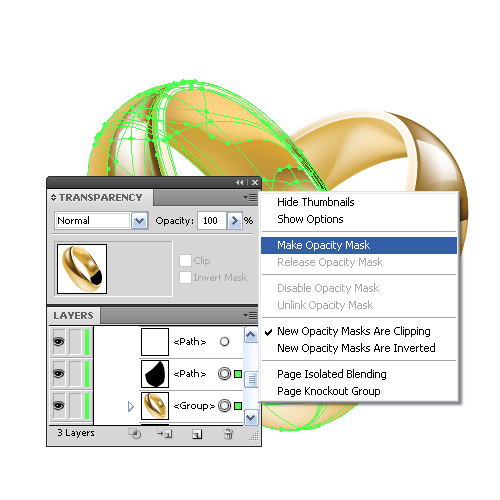
Step 30
Go back to Step 16. Turn on the visibility of the underlayer to form a black mask.
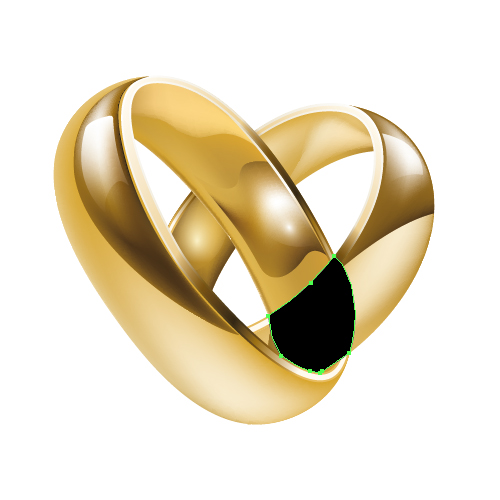
Now using the Selection Tool (V), select all objects of the front ring and group them (Command + G), locate this group below the mask shape in the Layers palette.
Select the shape of the mask and your group, click on the Make Opacity Mask from the Transparency palette.

Step 31
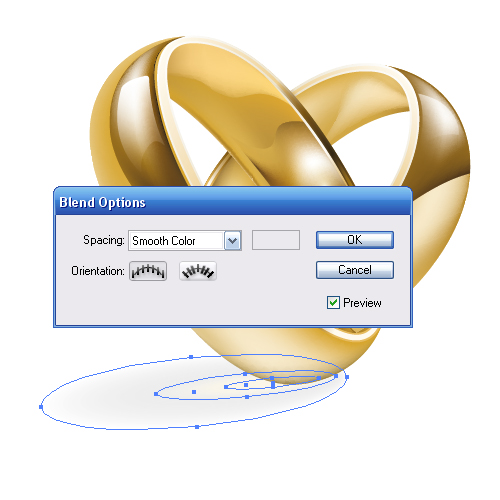
We just have to create a shadow under the rings. Use the Ellipse Tool (L) to create three ellipses in the underlayers below the rings.

The smaller ellipse has a light yellow fill – that is the reflex of gold on a white background. The medium ellipse has a light gray fill. The larger ellipse also has a gray fill, but with 0% Opacity. Select all three ellipses and go to Object > Blend > Make.
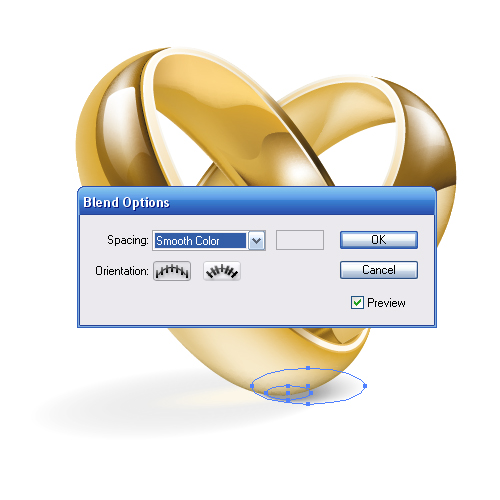
Step 32
If the object is illuminated by two light sources, there is going to be another shadow. The technique of its creation is the same as the original one.
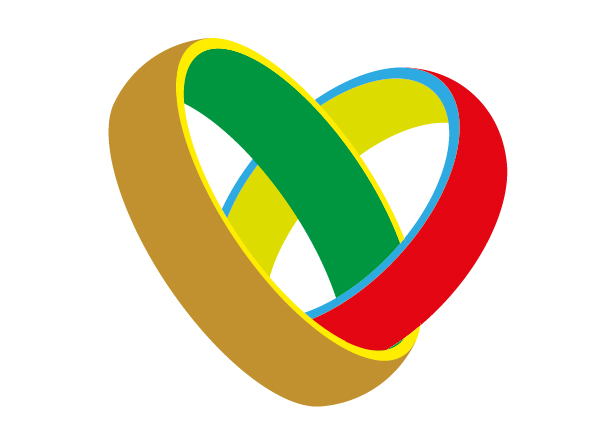
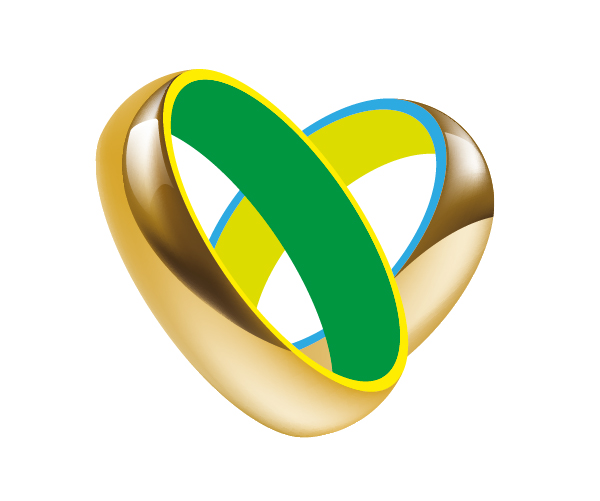
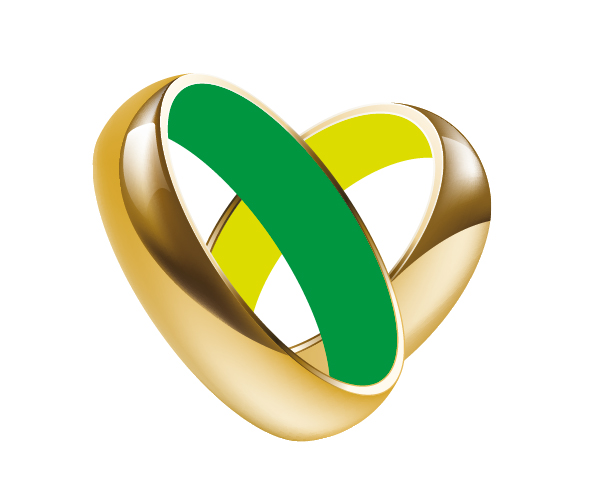
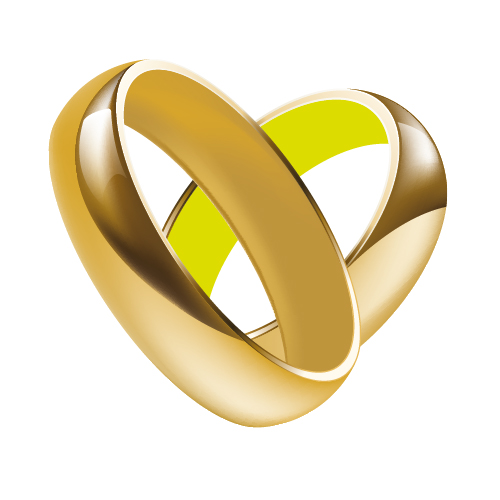
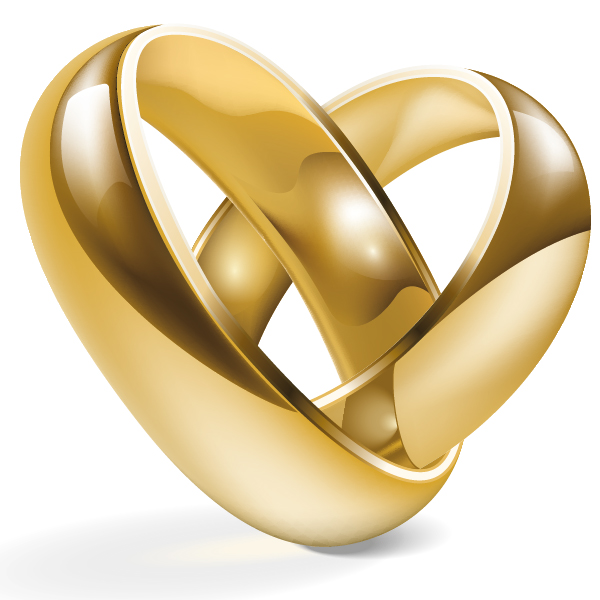
Final Image
The final image is below.


0 komentar:
Posting Komentar